
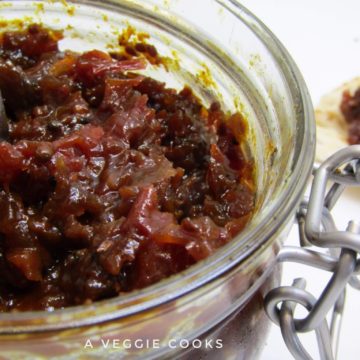
Spicy Tomato Chutney is easy to make. It’s sweet and spicy and complex. It’s everything you want in a chutney!
I love to grow tomatoes but this inevitably leaves me with a glut of tomatoes at the end of summer. While I love home grown tomatoes, there are only so many I can eat!
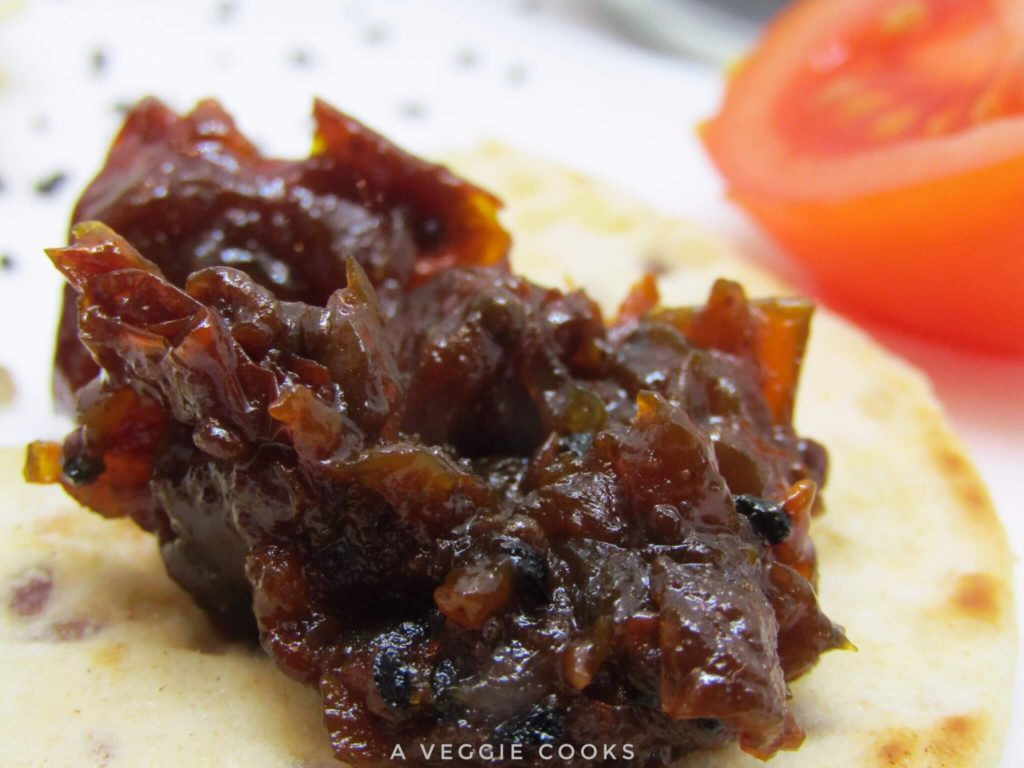
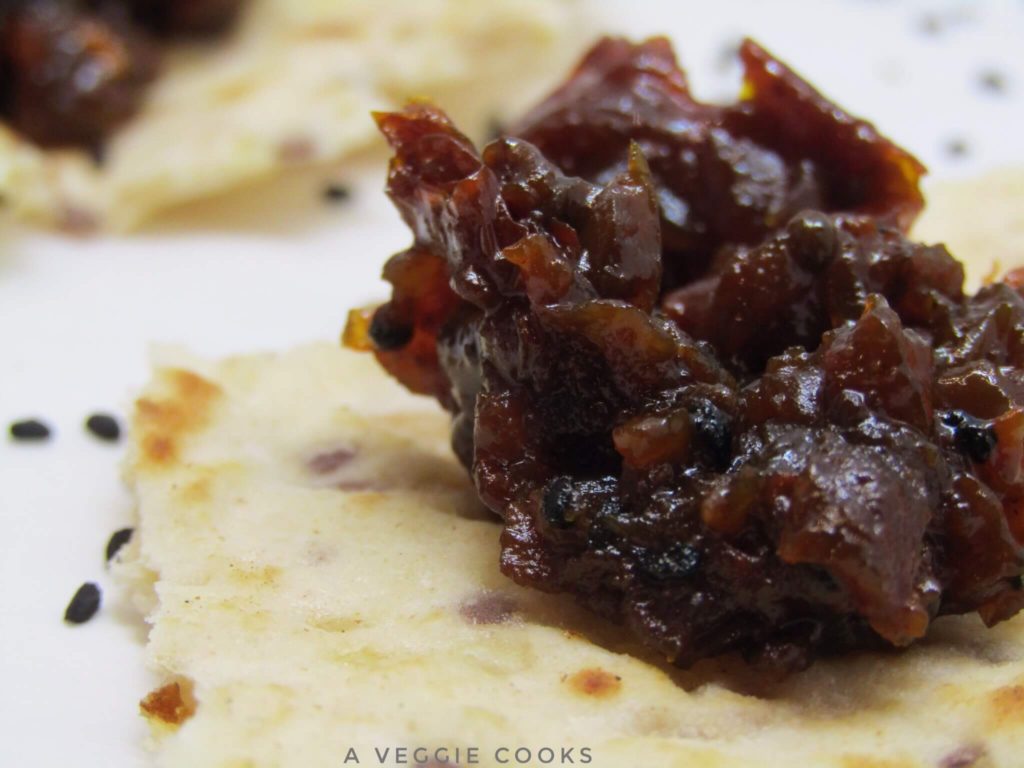
This recipe for Spicy Tomato Chutney is the perfect way to use them and keep them for winter. Sticky and delicious it is perfect on sandwiches or with a salad to add a kick of flavour. The recipe is simple with several changes you can make depending on what type of chutney you prefer.

Chunky or smooth? Extra spicy or mild? Its up to you!!
Many recipes call for peeling tomatoes but that sounds like too much work to me! You can do this if you like but I found they went soft with the cooking so it didn’t really matter. I just chopped them up and took the hard stalk bit out of them.
It is entirely up to you what way to chop them. If you prefer your chutney chunky like mine then I just cut the cherry tomatoes in half and the cut all the bigger tomatoes into similar size pieces to them. If you like a finer texture then you can cut them smaller or alternatively use a stick blender to purée it when it is cooked but personally I think it is much better with chunks in it.
The amount of spices I added gives a nice depth of flavour without too much heat but you can ramp up the chillies and add any other spices you want to make it as hot as you want.
If chillies and spices are not your thing then you can leave them all out and you will still have a gorgeous tomato chutney.
It is an extremely flexible recipe, as long as the basic ingredient amounts are the same then you can adjust the flavourings how you want. I have never tried herbs in it instead of the spices but I think it would be beautiful.
My tomatoes were not roasted first as they were full of flavour being home grown but if you are using shop bought ones you can roast them first to help the flavour or alternatively add in some tomato puree as they can be a bit bland.
I did fry my spices first though, just to bring out the best of their flavour. It only takes a few minutes but is worth doing. Just fry them gently for five minutes in a tablespoon of vegetable oil and then tip them into the saucepan with the tomatoes and onions

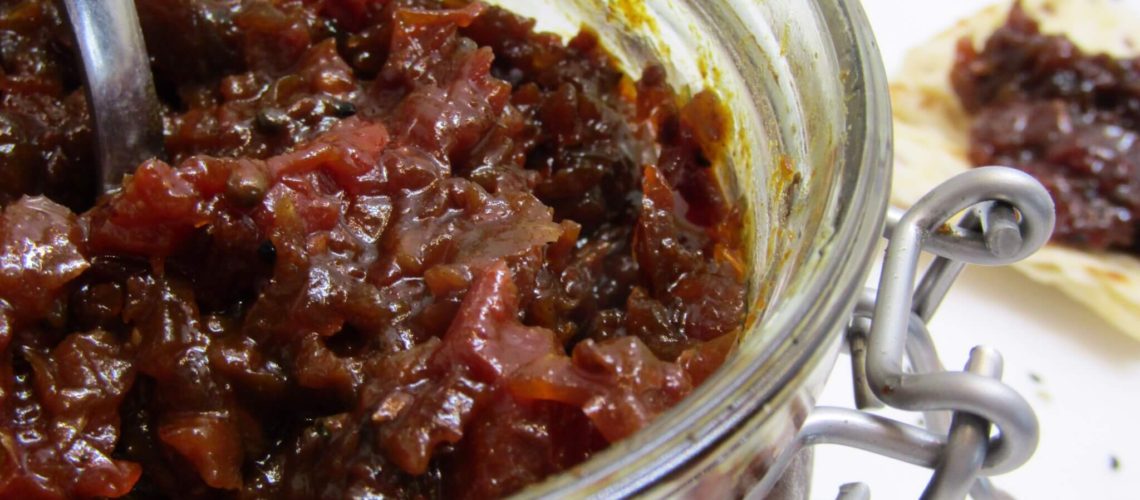
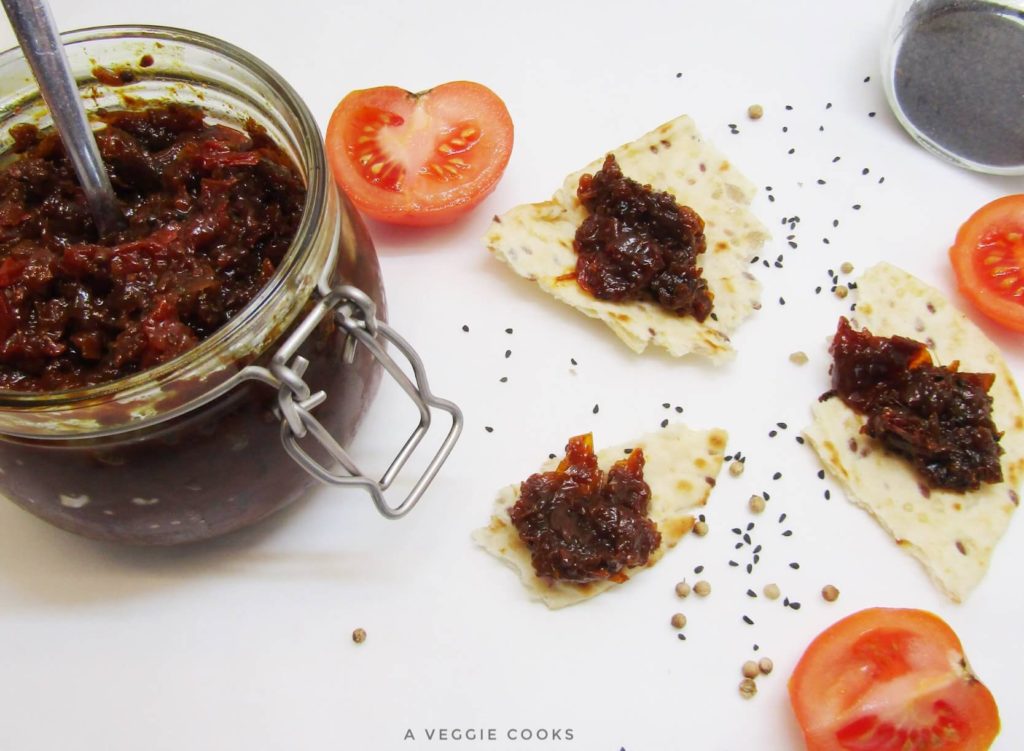
The amount here makes about two 500ml Kilner type jars like I used. It looks like a lot when you start off with a full pot but it breaks down a lot. Chutney is cooked slowly on the hob for an hour or you can do what I did and throw it in a slow cooker.
It needs a long slow cook to allow it to break down and the flavours to develop. An occasional stir is all that’s needed and is ready when it is dark, jammy and shiny.
The most important thing about making preserves of any type is to make sure you have clean and sterilised the jars as any bacteria will affect the preserves and they will not keep. I made this chutney last year and kept it in the fridge and it’s still perfect. It might not keep as long out of the fridge but definitely will last six months.
How to sterilise jars:
The first step is to wash the jars well in hot soapy water removing any labels then choose which ever method you like.
Sterilising jars in microwave ovens
Sterilising jam jars in microwave ovens is really straightforward and doesn’t take much time at all. Simply carry out the following steps and your jars will be sterilised in a few minutes.
Place in the microwave and turn on ‘high’ (usually around 1,000 watts) for 30-45 seconds.
Place them upside-down on a tea towel to dry off.
While sterilising jars in microwave ovens works really well, you can’t sterilise metallic lids in this way. Instead of using the old lids you can cover the top of the jars with wax, or buy new lids to seal your jam.
How to sterilise jars in the oven
Sterilising jars in the oven takes longer than in a microwave, but it’s long been known as one of the best methods for sterilising jars. You can get the prep done while your jam is simmering and by the time it’s cooked your jars will be ready. Just follow these simple steps:
Set the oven temperature to 130 C or 270 F – no higher, or you run the risk of the glass breaking.
Lay paper in double layers on your oven shelves and arrange the jars on the shelves so that they aren’t touching.
Shut the oven and set a timer for 20 minutes.
Use an oven glove to remove the jars and stand them on a heatproof mat to cool.
How to sterilise jars in the dishwasher
Sterilising jars in the dishwasher is probably the easiest method, and works really well if you’ve got an extra hot setting on your machine. Sterilising jars for jam making in this way is straightforward with the following steps:
Make sure the dishwasher is empty and clean.
Carefully place the empty jars and lids into your machine, ensuring they are secure.
Run the dishwasher on a cycle that coincides with your jam being ready.
Remove the jars one by one and lay on a clean tea towel to dry.
Fill the jars with jam and secure with the sterilised lids.
This works well with screw-top and clip-top jars. With clip-top jars it’s best to remove the rubber to make sure that part gets fully sterilised too.
How to sterilise jars in a saucepan
Sterilising in hot water is easy to do and everything can go into the saucepan like the rubber seals on Kilner type jars and the metal rings around them which not every method is suitable for.
Place all the jars with their lids off in a large saucepan of water which covers them.
The lids should be added too.
Bring them to a gentle simmer and simmer for 15 minutes.
Place upside down on a clean tea towel after removing from the water to dry.
Important Note About Sterilising Jars
Do NOT add cold food to hot jars, or hot food to cold jars; otherwise, the jar will shatter which is very dangerous!!
Also be careful not to touch the inside of the jars or lids which have been sterilised as you will be introducing bacteria from your hands.
Did you make this recipe? Take a pic and share it on Instagram with the hashtag #aveggiecooks__ and tag @aveggiecooks__. I would love to see it!
Spicy Tomato Chutney
Ingredients
- 500g/ 1lb Red Onions (sliced)
- 1kg/ 2lb Tomatoes , chopped Chop into large pieces if want chunky chutney or smaller if want smoother chutney
- 2 Cloves Garlic crushed
- 5 Fresh Red Chillies Leave out seeds if do not want it very spicy
- 1 Teaspoon Nigella seeds
- 1 Teaspoon Coriander
- 250g/ 8oz Brown Sugar
- 150ml/ 5floz Red Wine Vinegar
- 1 Tablespoon Paprika
- 1 Tablespoon vegetable oil
Instructions
- Put all the ingredients except the spices and oil in a large heavy based saucepan or in a slow cooker.
- Heat the oil in a frying pan and gently fry the spices for five minutes. Add into the saucepan with all the other ingredients.
- Bring slowly to the boil, stirring from time to time to make sure the sugar has dissolved.
- Cook the chutney at a medium heat for about an hour, stirring occasionally, or until it becomes thick and jammy. Its ready when a wooden spoon drawn through it leaves a clear channel with just a little bit of juice.
- Spoon the chutney into warm sterilised jars and cover with a piece of greaseproof paper and the lid. Store in a cool dark place for at least a month to allow the flavour to develop before eating.
Why not try Spicy Tomato Chutney on my One Hour White bread?

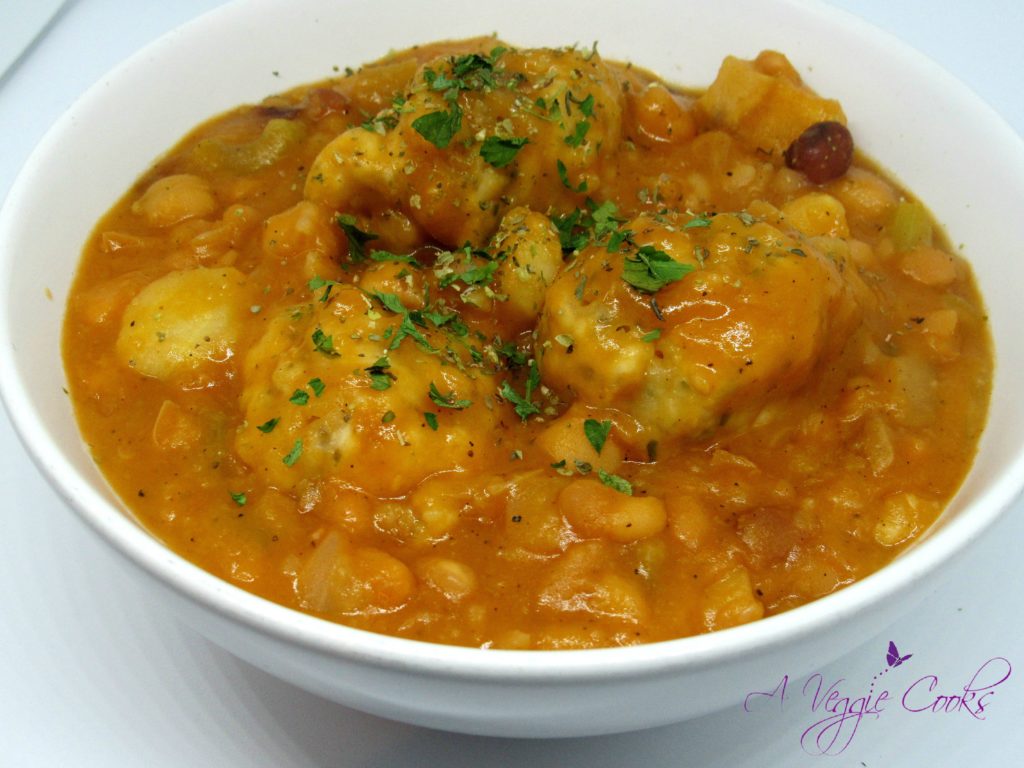
Vegan Bean and Dumpling Casserole