
Does baking feel daunting to you? Or do you enjoy it but get frustrated when your bakes inexplicably turn wrong? Unlike cooking which can be more intuitive, baking is a science that often doesn’t allow for creative interpretations. For the lightest cakes, fudgy brownies and crunchy biscuits there are key instructions that can make all the difference. Follow these10 tips that will help you bake successfully.
- Read the recipe before you start baking
- Weigh your Ingredients accurately
- Bake with quality ingredients
- Use room temperature ingredients
- Mix it up right
- Use the right tin
- Always bake at the correct temperature
- Is it done yet?
- Let it Cool
- Avoid Swapping Ingredients

1. Read the recipe before you start baking
It may seem obvious or unnecessary, but reading a recipe in its entirety before you start baking, especially if it is the first time you make it, will definitely increase your success rate. There is really nothing worse than being in the middle of a recipe and realising that you are missing a key ingredient or piece of equipment.
2. Weigh your ingredients accurately
Baking requires precision, and one of the best ways to ensure that you nail your bakes every time is to make sure your measurements are exact. Forget cups and spoons. Measuring flour with those can sometimes add an extra 100g to your recipe, an amount that can turn your cake from light and fluffy to dense and dry. You best friend here will be a digital scale.
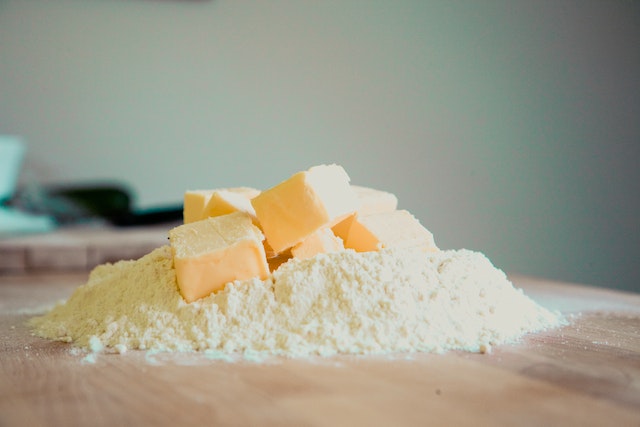
3. Bake with quality ingredients
Not only will using good quality ingredients will enhance the taste of your desserts, but they will also give you better results. Some vegan low fat spreads, for example, can cause problems in your baking due to the fact that they have a higher water content than full-fat quality vegan butter. This water will evaporate in your bake and create a different chemical reaction than the one originally intended for, and therefore a different outcome for your dessert!
Worth checking as well as the sell-by date of your ingredients like baking soda, baking powder, yeast or flour, which incidentally have a fairly short shelf life. If your last bake did not rise as you expected, the culprit could be that baking powder that has been sitting at the back of your cupboard for a while. To test the freshness of your baking soda and yeast, pour boiling or hot water over a small amount. If it does not bubble after a few minutes, it’s best to toss it away and get a new package. When it comes to flour, check that it smells fresh rather than chalky.

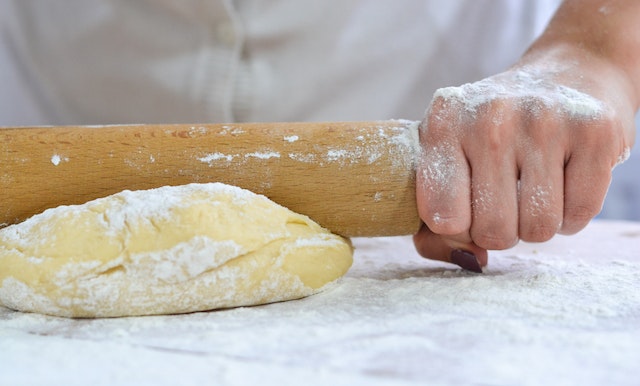
4. Use room temperature ingredients
You may have heard this before, but baking with room temperature ingredients is not a step to be ignored. Before you start baking straight away, remember to bring refrigerated items like vegan butter, and plant milk to room temperature, around 20°C. A good idea is to take those ingredients out of the fridge at least an of couple hours before you plan to bake, or leaving them out overnight. This will make your cake light, fluffy and even more delicious. Warm plant milk very slightly in the microwave, just until it is room temperature but not arm. For vegan butter, cut it into chunks, which will soften in about 15 minutes at room temperature, or grate it with a cheese grater (yes, really!).
5. Mix it up right
Even if your ingredients are all going to end up in the same bowl together, ignoring the order in which you mix them and the way that you combine them will likely result in a disappointment. It is essential to follow carefully the instructions when it comes to combining ingredients and to complete each step thoroughly. This comes back once again to chemical reactions. For example, creaming butter and sugar with a mixer should be done before adding wet ingredients. The reason for this is that the fat in the butter holds air, which expands when whipped. When beating it with sugar, the sugar granules will slice through the butter creating air pockets that will enable the pastry to rise. If you skip this step, you will end up with a compact cake. To avoid this, keep an eye out for instructions like ‘cream until light and fluffy’ or fold in gently.
6. Use the right tin
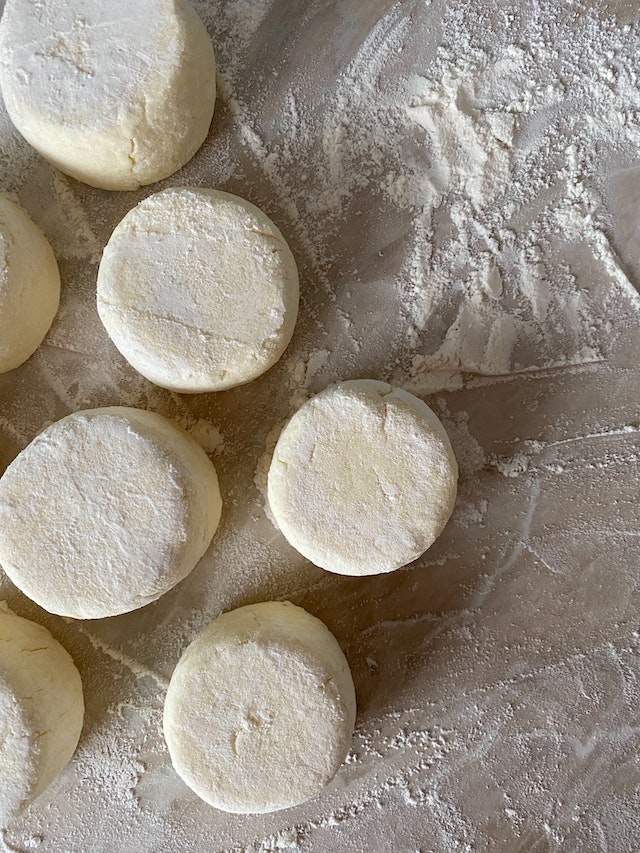
Double-check if the recipe calls for a specific tin size as different cakes require different tins according to the ingredients, recipe yield or cooking time. Always use the pan size called for in a recipe to avoid burning or over brimming when baking. To calculate the pan’s width, measure across the top from inside edge to the inside edge. Once you have the right equipment, don’t forget to thoroughly butter and flour every surface and corner of your tin or line with baking parchment before you pour in your batter or dough so you can release them from the tin easily.
7. Always bake at the correct temperature
Baking is another key step in the process and one which can result in soggy bottoms or blackened biscuits if not carefully monitored. First, try to establish whether your oven tends to run hot or cooler, and adjust the temperature accordingly. If you’re not quite sure, the best thing to do is to get an oven thermometer, which will give you a precise reading of your oven’s temperature. Be sure to accurately preheat your oven before getting your bake in and always place it in the centre of your oven rack to allow for air circulation.
Then, always set a timer rather than relying on your own timekeeping, as it can be so easy to get distracted. Try not to open the oven door too often as it will lower the temperature and use the oven light instead to check on your baking. There’s a saying that’s very true which is, if you’re looking, it ain’t cooking! Do however rotate your bake halfway through if instructed to do so, especially if you have noticed that one side of your oven is hotter. Lastly, even if you are in a rush, do not be tempted to alter the oven temperature up, as you will end up with burned exteriors or hard cakes.

8. Is it done yet?
To check whether your bake is done, one of the best ways to do so is to carefully insert a wooden toothpick or clean knife into the middle of the cake (avoiding to insert it into any moist ingredient like jam or fruit). Your bake should be ready when the tester comes out clean. However, always check the colour of your cake too. If it is not a golden colour, it is not cooked. Another test to try is to look if your cake springs back when placing your hand on top and pushing down slightly. If it does not, place it back in the oven for longer.
9. Let it cool
We know just how hard it can be, but cooling your bakes (unless the recipe states otherwise) can really avoid some baking disasters. Have you ever experienced a sponge cake completely falling apart as you are taking it out of the tin, or your frosting melting away you are piping? Cooling your bake is key as it allows the steam trapped inside it to completely evaporate, which in turn will make your cake so much easier to handle. When indicated in the recipe, cooling your cake on a wire rack is also important as the heat from the baking tin will continue to bake your cake, which could make it overdone or dry.

10. Avoid swapping ingredients
Everything is usually in a recipe for a reason, and substituting ingredients, especially if it is the first time you are making a recipe, will not end up well. Whilst you can swap flavours like vanilla extract for coffee extract, key ingredients like sugar do a lot more than sweeten a cake – it adds texture, moisture, colour and aeration. A successful bake relies on a specific chemical reaction and how your ingredients will interact with each other. White sugar will create fluffy cakes or crisp biscuits, whilst brown sugar makes baked goods more moist due to its higher molasses content. This is why chocolate chip cookie recipes often call for white sugar as well as brown sugar so that the result is a crisp exterior as well as a delicious fudgy centre.
Now that you know these top 10 baking tips you’re set for creating great bakes every single time. All that it really requires is a little preparation and to follow the recipe closely. Once you have mastered a recipe though, you can experiment with flavours to suit your own taste and get creative with the decoration.